
I’ve been home labbing for 5 years, but I’m only now getting a UPS. I know, I know, I was risking it. I’ve had this on my todo list for quite a while, but I mostly held off from pulling the trigger because of the confusing VA notation used for UPSs, as well as because I couldn’t decide between a rack-mountable version and an extension cable style.

But now that I’ve chosen my NAS style (not rack-mountable) and I don’t plan to run any power-hungry servers (yet… looking into trying an AI server, maybe… it’s way too expensive).
It was still making me very uncomfortable to run hard drives unprotected from sudden loss of power, so I decided to bite the bullet. That was also very apt, as just yesterday morning when I woke up, I was a bit confused about why I couldn’t connect to my SMB share. Looking at the Home Assistant power history, the NAS lost power just before midnight and remained off for the entirety of the night. I don’t know what caused it, but it seems it was a sign that I need a UPS.

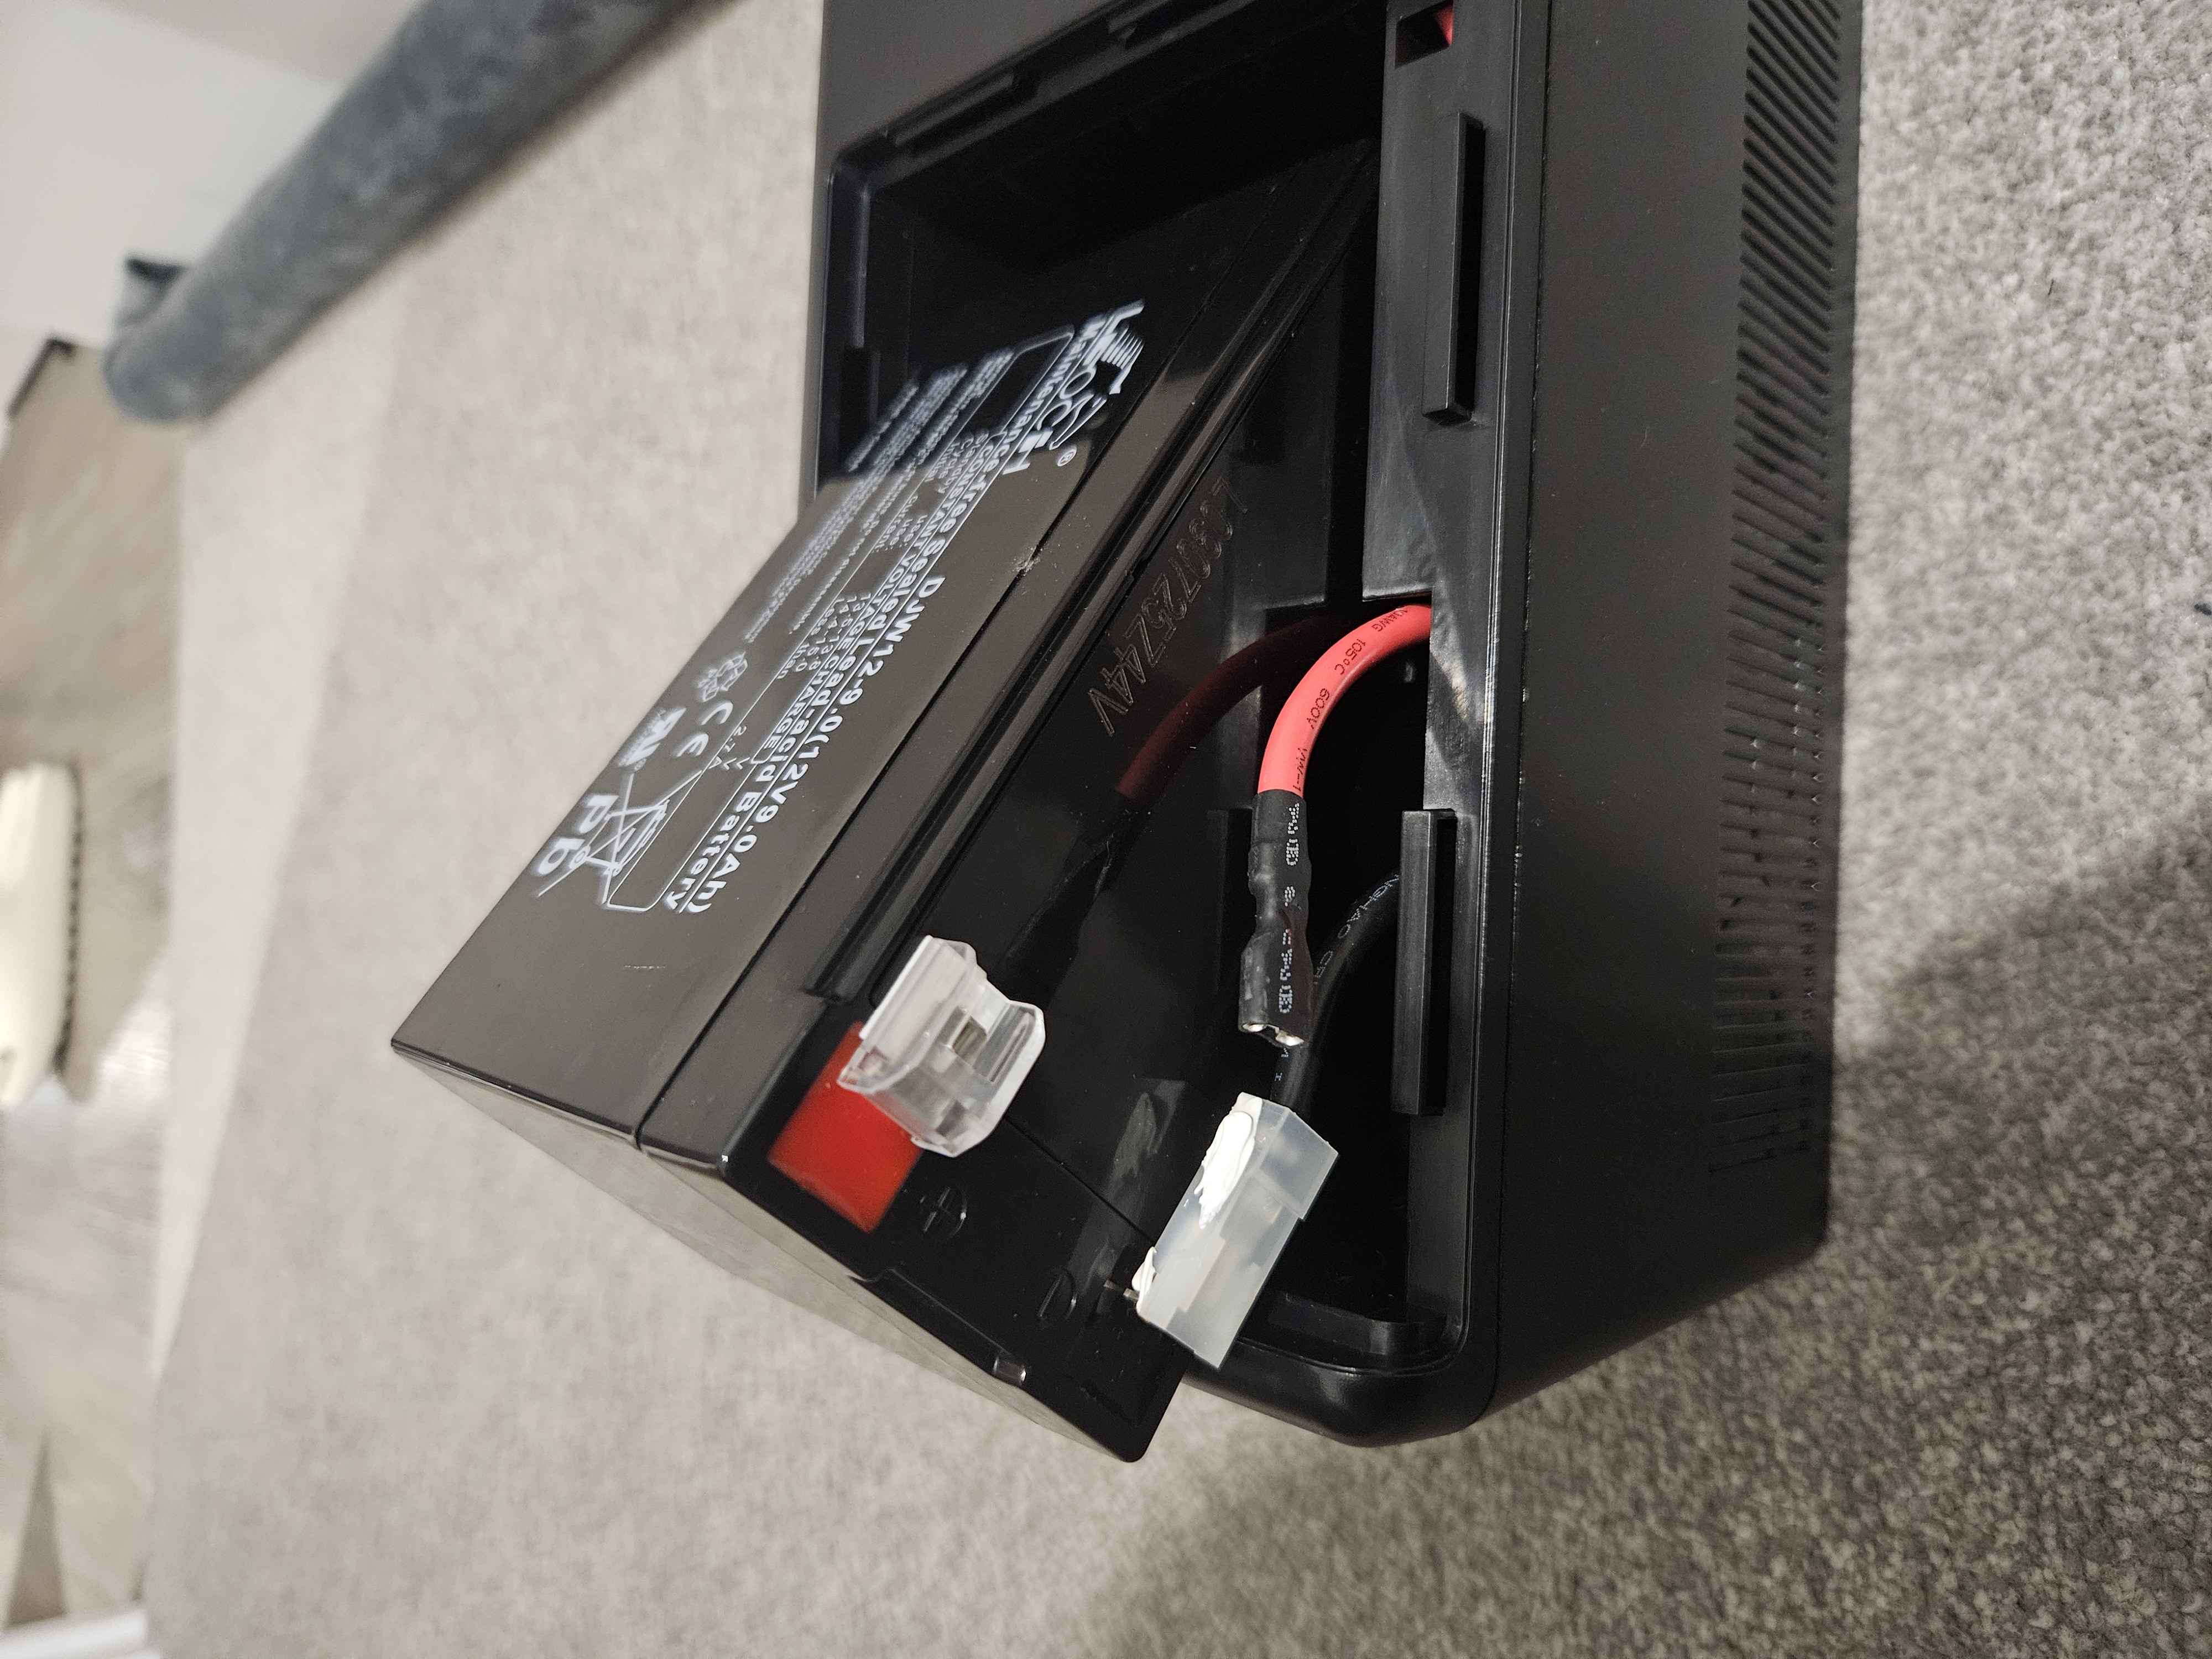
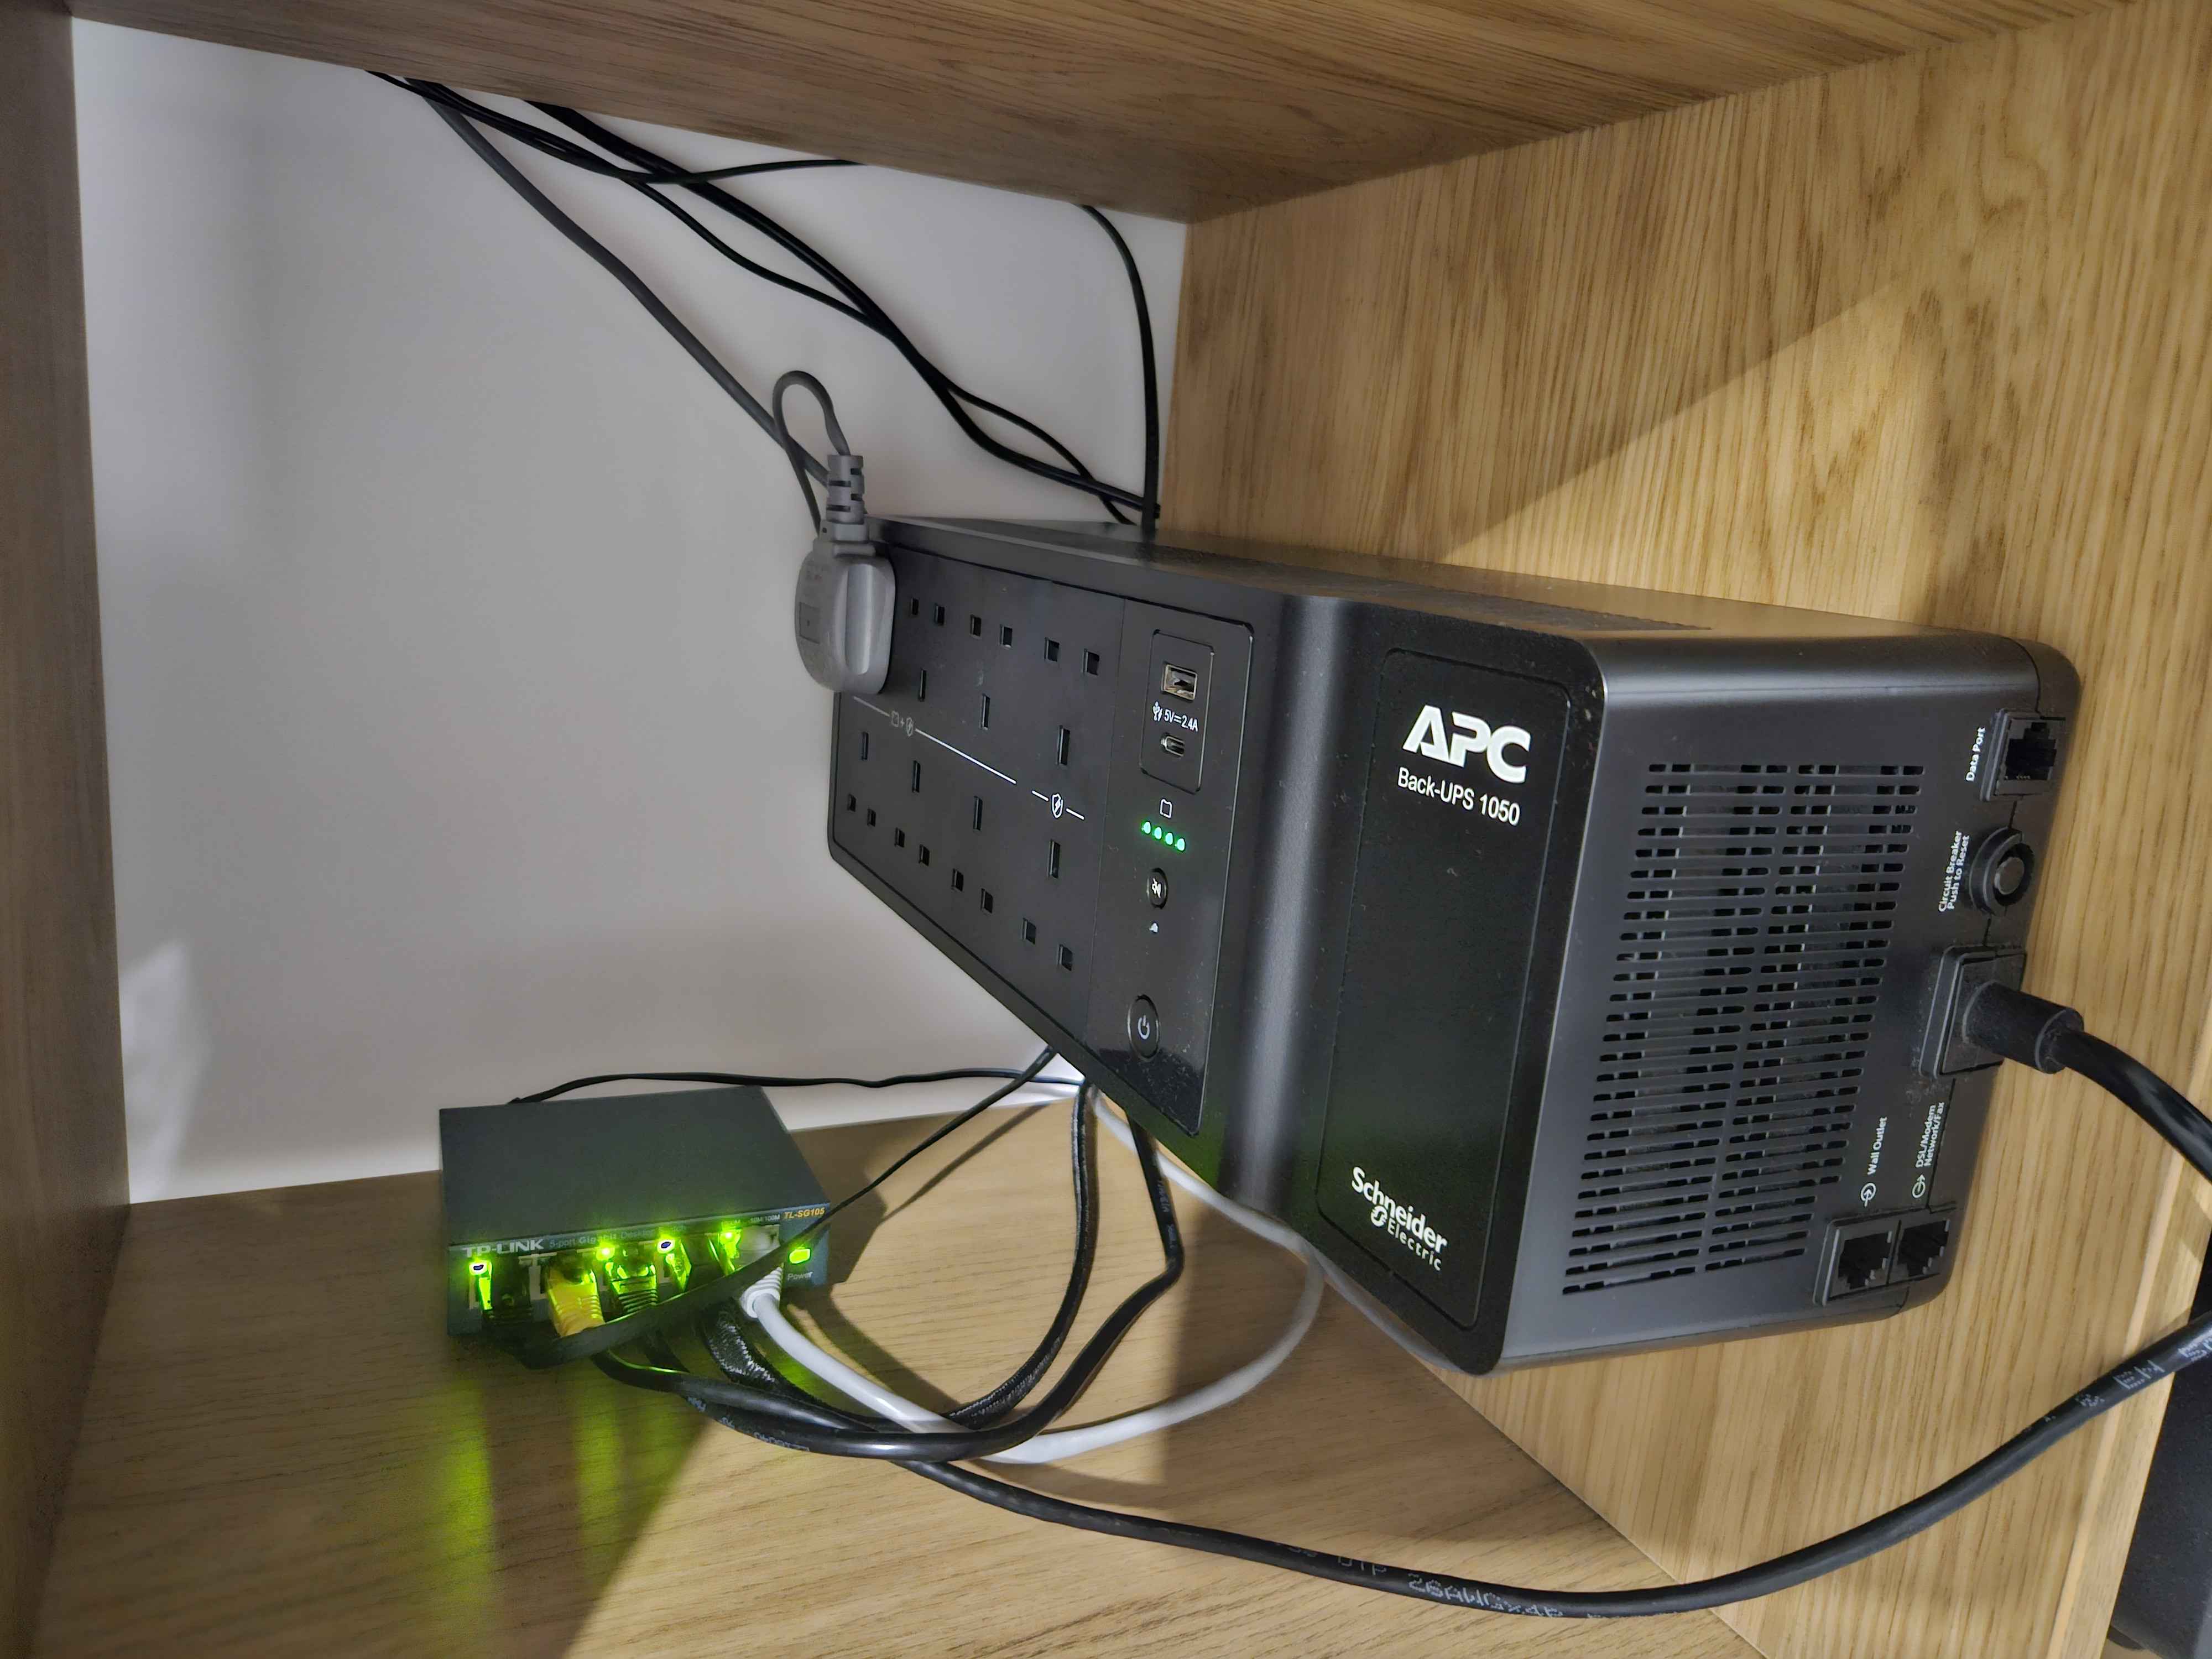
The main point is that I got this one because it’s fairly small, noiseless, the battery can be changed, and it comes with a USB cable to connect to my NAS.
It’s very chonky if you compare it with an extension cable, but can still comfortably be placed on an IKEA Kallax shelf.
Let’s look at how this can be used with TrueNAS
Prerequisites #
-
Setup:
- UPS connected to server via USB cable
- UPS powered on and providing power to the server
-
Supported UPS:
Step 1: Detect Your UPS #
First, identify if your UPS is detected by the system:
- Open TrueNAS Shell
- Run UPS scanner:
sudo nut-scanner -UExample output:
truenas_admin@mimir[~]$ sudo nut-scanner -U
[sudo] password for truenas_admin:
Scanning USB bus.
[nutdev1]
        driver = "usbhid-ups"
        port = "auto"
        vendorid = "051D"
        productid = "0002"
        product = "Back-UPS BE1050G2 FW:497200G -497300G"
        serial = "3wydf8hj"
        vendor = "American Power Conversion"
        bus = "001"
Note: If no UPS is detected, check USB connections and ensure the UPS is compatible with NUT (Network UPS Tools).
Step 2: Configure UPS Service #
- Go to:
System > Services > UPS > Configure (pencil icon)
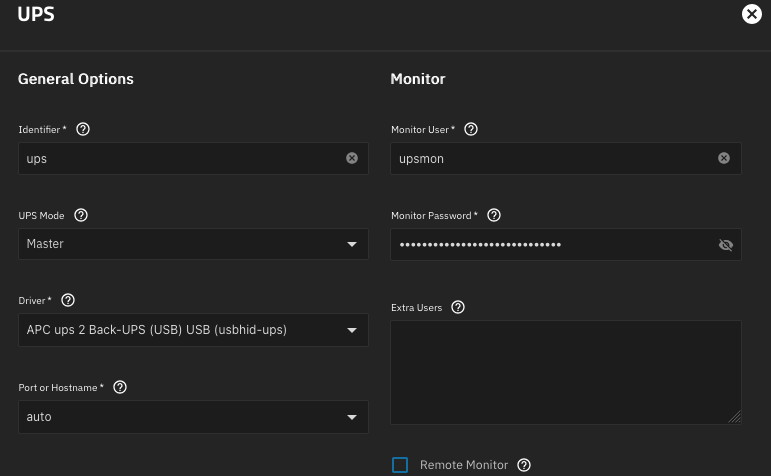
- General Options:
- UPS Mode:
Master - Identifier:
UPS(or name from scanner output) - Driver:
usbhid-ups(from scanner output) - Port:
auto(USB UPS) or specific serial port - Monitor User:
upsmon - Monitor Password: Create a strong password
-
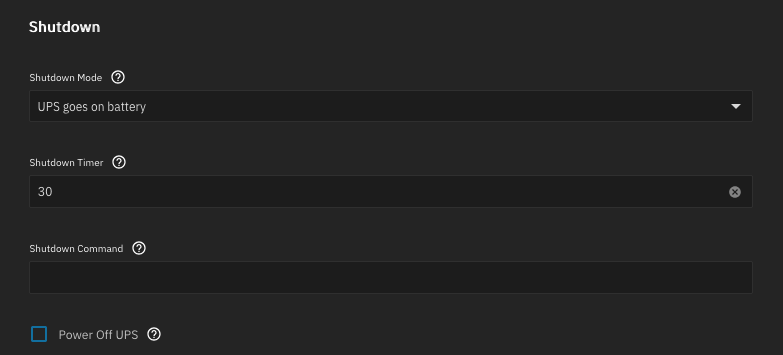
Shutdown:
- Shutdown Mode: Choose from:
UPS goes on battery- Immediate shutdown when power failsUPS reaches low battery- Wait until battery is critically low
- Shutdown Timer:
30seconds (time to wait before shutdown) - Shutdown Command: Leave default
- Shutdown Mode: Choose from:
Don’t forget to enable the UPS Service after that
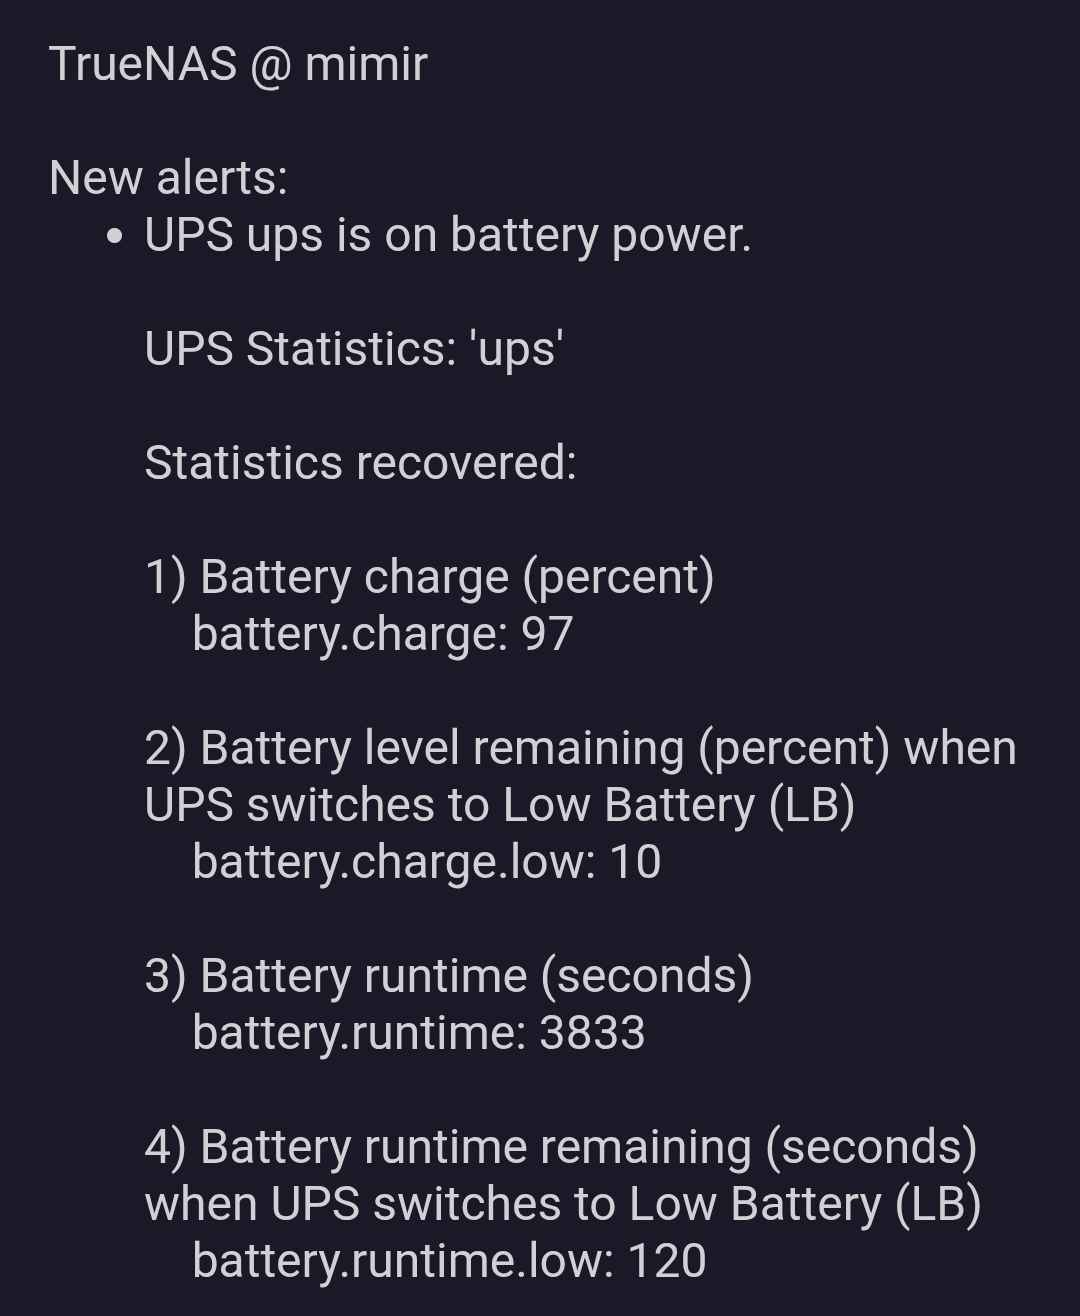
When the UPS loses its power, it gives a reassuring beep. TrueNAS also sends a notification with some interesting data, such as the default setting for the Low Battery threshold. Also, it seems I would have just over 1 hour if I were to lose power, not bad.