
A simple question from my dad sparked a realisation about data ownership. While discussing my website, he asked, “What happens to the website and its content once you are gone and who controls it?” I explained that I controlled it and the source code was stored on GitHub. His follow-up question was “But where is the content and who really controls it?"🤔
That’s when it hit me, while I have access to my GitHub repositories, I don’t truly control them. As someone who already self-hosts most of my data on a home NAS, why not take ownership of my code repositories too?
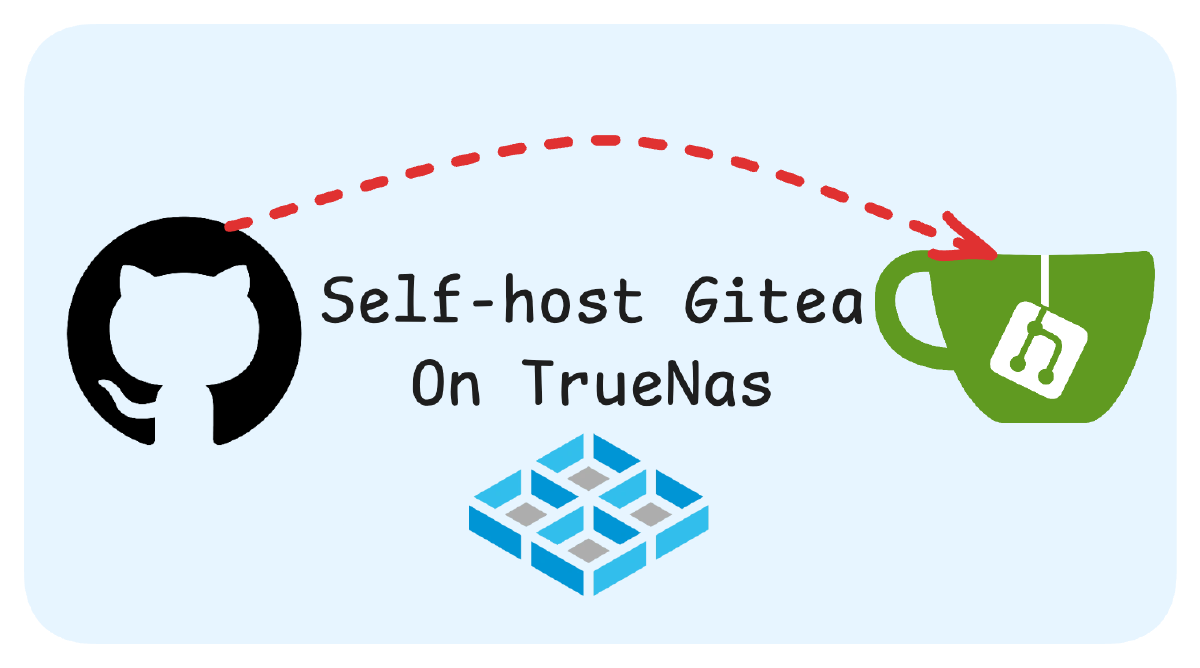
I’ll show how to set up Gitea on TrueNAS to create local mirrors of your GitHub repositories, ensuring you maintain complete control over your code.
My Goals #
Here are my requirements for the solution:
- Repository Mirroring: Sync repositories from GitHub and other providers
- Automated Updates: Schedule unattended synchronization to keep local copies current
- Repository Browsing: Access a web interface to view code when needed
- Local Storage: Store all data on my own hardware under my control
- Disaster Recovery: Integrate with existing backup strategies
Why Gitea? #
After researching several options, I chose Gitea for this project because:
- It’s lightweight and works well on home server hardware
- It has built-in repository mirroring capabilities
- The web interface is intuitive and GitHub-like
- It integrates nicely with TrueNAS
Installation: Setting Up Gitea on TrueNAS #
I am using TrueNAS as my NAS OS of choice, so I will be setting it up on it.
Creating Required Datasets #
First, we need to create three datasets in TrueNAS to store our Gitea data:
- Config:
pool/apps/gitea/config- For Gitea configuration files - Postgres:
pool/apps/gitea/db- For the PostgreSQL database - Repository Data:
pool/git-repo- For the actual git repositories
Gitea Application Configuration #
In the TrueNAS Apps section, search for Gitea and configure it with these settings:

- Postgres Image: 17
- Database Password: Create a secure password for the PostgreSQL database
- Root URL: Your internal URL (e.g.,
http://192.168.0.137)
Network Configuration #

- WebUI Port: Choose your preferred port for UI access
- SSH Port: Internal SSH port for Git operations
Storage Configuration #
Map the datasets we created earlier to the application:
- Gitea Config Storage:
/pool/apps/gitea/config - Gitea Data Storage:
/pool/git-repo - Gitea Postgres Data Storage:
/pool/apps/gitea/db- Enable automatic permissions
Note: Make sure the app user (ID 568) has access to these datasets. You can enable ACL to give read and write permissions per dataset in Gitea setup. Or in datasets tab.
Resources Configuration #
Allocate appropriate resources based on your server capabilities: But as it’s very lightweight, the defaults should be enough
- CPUs: 1 (sufficient for most home setups)
- Memory: 1024 MB (1GB)
Initial Gitea Setup #
After installation, it’s time to configure Gitea:
- Navigate to your Gitea instance (e.g.,
http://192.168.0.137:30008) - In the initial setup page, under “Server and Third-party Services Settings”:
- Disable Self-registration (so only admins can create users)
- Disable OpenID sign-in (As I am only intending to access it locally)
- Create your administrator account with a strong password
- Complete the installation process
Enabling Two-Factor Authentication (Recommended) #
For additional security:
- Log in as admin
- Go to Settings > Security
- Set up TOTP
Setting Up GitHub Repository Mirrors #
Creating a GitHub Access Token #
Before setting up mirroring, create a GitHub personal access token:
- Log into your GitHub account
- Go to Settings > Developer settings > Personal access tokens
- Create a new token with “fine-grained permissions”
- Grant “Read-only” access to content for all repositories (public and private)
- Set expiration to “Never”
Reference: Managing your personal access tokens - GitHub Docs
Configuring Repository Mirrors in Gitea #
Now we can set up repository mirroring:
- In Gitea, click the “+” icon next to your user avatar
- Select “New Migration”
- Choose GitHub as the source
- Enter your repository details and the access token
- Tick “This repository will be a mirror”
- Click migrate repository

Managing Sync Intervals #

After setup, you can:
- Adjust the sync interval in repository settings
- Force an immediate sync when needed
- Monitor sync status on the repository page
Accessing Your Mirrored Data #
Your mirrored repositories are stored at:
/pool/git-repo/git/repositories/[yourusername]To use a repository directly:
git clone /pool/git-repo/git/repositories/username/reponame.gitThis gives you a fully usable local git repository that you can work with.
Limitations and Alternative Approaches #
The main limitation of this approach is that you must set up each repository mirror manually.
Here is another solution I have encountered during my search but didn’t look into yet.
Gickup: A tool designed to back up Git repositories Gickup Documentation
Conclusion #
Now, even if GitHub experiences downtime or account issues, my code remains safely under my control.
Resources: